Hey there, fellow tech enthusiasts! Are you tired of your Galaxy S22 Plus losing steam faster than a marathon runner in a sprint? Well, fear not! We’ve got just the solution for you. This easy-to-follow guide will walk you through the simple steps to breathe new life into your beloved device with a battery replacement. Say goodbye to constant charging woes and hello to uninterrupted phone bliss!
Why Battery Replacement Matters:
Let’s face it – our smartphones are practically extensions of ourselves. They keep us connected, entertained, and organized, but none of that matters if they’re constantly running on empty. A worn-out battery can turn your trusty companion into a frustrating paperweight. But fret not, because a simple battery replacement can work wonders, giving your Galaxy S22 Plus the power it needs to keep up with your busy life.
Step-by-Step Guide to Battery Replacement:
1. Gather Your Tools: Before diving in, let’s ensure we have everything we need. You’ll want a Phillips screwdriver, some prying tools (like a plastic spudger or guitar pick), a heat source (like a hairdryer), and a replacement battery specifically designed for the Galaxy S22 Plus.
2. Power Off Your Device: It’s always a good idea to start by completely turning off your phone. Press and hold the power button until the power menu pops up, then tap “Power off” and wait for your device to shut down completely.
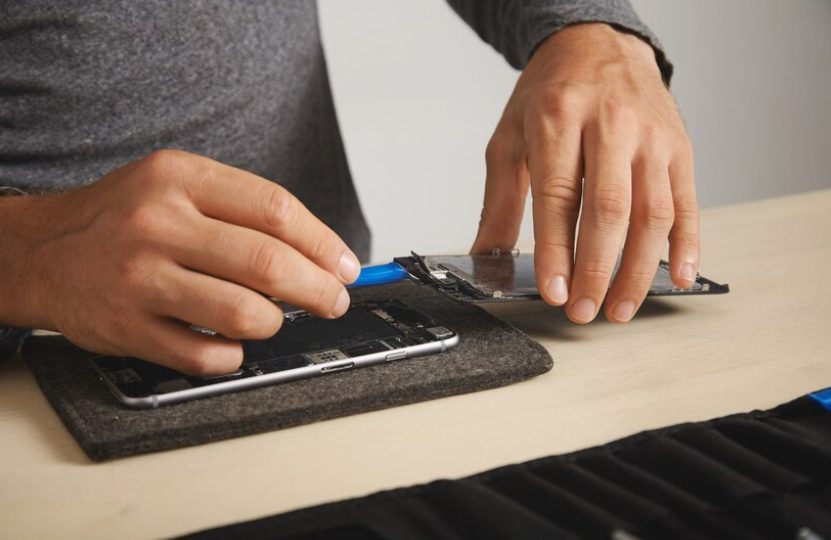
3. Remove the Back Cover: Use your heat source to warm up the adhesive around the edges of the back cover. Once it’s nice and warm, gently insert your prying tool between the back cover and the phone frame and carefully lift the cover off.
4. Unscrew and Disconnect the Battery: Inside, you’ll find the battery near the centre of the device. Use your Phillips screwdriver to remove any screws holding the battery connector in place, then disconnect the battery connector from the motherboard.
5. Install the New Battery: Take your shiny new battery and carefully place it into the battery housing, ensuring it’s appropriately aligned with the connectors on the motherboard. Reconnect the battery connector and secure it with the screws you removed earlier.
6. Reattach the Back Cover: With the new battery in place, it’s time to put the back cover back on. Line it up with the phone’s edges and press down gently to reseal the adhesive.
7. Power On and Test: Once everything is back together, power on your Galaxy S22 Plus and ensure everything works as it should. If all goes well, you’ll be greeted with a fully charged battery and a sense of accomplishment!
Benefits of DIY Battery Replacement:
You might wonder, “Why go through all this trouble when I could just have a professional do it?” Well, let me tell you – there are numerous benefits to tackling the task yourself. Firstly, you’ll save time and money by bypassing the need to visit the repair shop. Additionally, knowing you can handle the issue independently creates a sense of accomplishment. And, of course, there’s the added advantage of avoiding any potential headaches that may come with dealing with a third-party repair service. So, empower yourself and take charge! If you need parts or guidance, Screen Fixed is here to assist you every step of the way.
Conclusion:
So there you have it, folks – a comprehensive guide to reviving your Galaxy S22 Plus with a simple battery replacement. With just a few tools and some know-how, you can say goodbye to charging woes and hello to uninterrupted phone bliss. So why wait? Grab your tools, roll up your sleeves, and get ready to breathe new life into your trusty companion. Happy repairing!